First Community Financial Group, Inc. Blog |
|
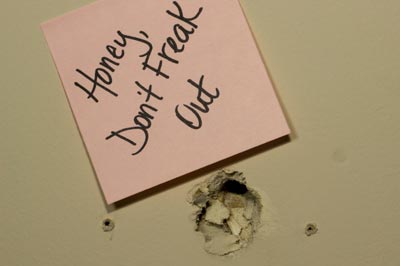
Before applying paint, paper or other covering to your walls, you need to repair any holes.
Before you get startedFill nail holes and small punctures with spackling compound. When dry, sand lightly. If the hole is next to an electrical outlet, you may be able to conceal the damage with a larger outlet box or an oversized outlet cover plate. For larger holes, you will need to patch the damaged area. CAUTION! Determine where the electrical wiring is located before cutting into a wall. Small Dry Wall Patch HolesIf the hole is no bigger than two inches, repair with fiberglass tape. Stretch tape across the hole. Apply two or three coats of joint compound and sand between coats. Step 1: Enlarge and Square UpCut a square area larger than the hole with a utility knife or keyhole saw. Step 2: Prepare Backer BoardsCut two backer boards so they are 2 to 3 inches wider than the hole. Step 3: Secure Backer BoardsPlace a backer board inside the hole at top edge. Secure with 1-1/4 drywall screws, holding the board in place as you work. Tighten until screw heads are below the surface. Place second backer board inside lower edge of opening. Secure with screws. Step 4: Install PatchCut patch to fit opening. Screw patch to the backer and tighten until screw heads are below the surface. Step 5: Tape SeamsApply strips of fiberglass tape over seams. Step 6: Apply Joint CompoundCover tape with a thin coat of compound. When dry, sand lightly. Apply two more coats. Feather and sand each coat until the surface is smooth. Patching Large HolesFor holes larger than 8 inches, cut drywall back to middle of the studs bordering the hole. Butt backer boards to studs and secure behind drywall with screws. Fit patch into opening. Secure to the studs and backer boards with screws. Finish with fiberglass tape and joint compound. Materials you will need:
Tools you will need:
Content furnished by Foremost Insurance.
0 Comments
Leave a Reply. |
Contact Us(936) 327-4364 Archives
July 2024
Categories
All
|


 RSS Feed
