First Community Financial Group, Inc. Blog |
Insurance pointers and timely information at your fingertips.

 Whether you bought a new or used mobile home, odds are that when you purchased it the design wasn't exactly what you wanted. Builders may not use the most high-end materials on new builds, and if it's an older model, it may be time for an update. If you ever plan to revamp a room in your mobile home, consider starting with the kitchen. It can make your mobile home look more modern, and they can have some of the best return-on-investment rates.*
If you're not sure where to start in your kitchen or if you're looking for inspiration, you're in the right place. Foremost® has done some research for you and put together a list of ideas you can use to give your kitchen a more updated look!
We hope some of these suggestions fit into your budget and give you the motivation to get started. Good luck on your DIY journey!
0 Comments
 Every time I'm in my house and hear the rain start to pound on my roof, the only thing that goes through my mind is…gutters. Were you expecting me to say, lush greenery or a beautiful rainbow? The fact is, my home doesn't have rain gutters and it needs them, badly. My husband built our house about five years ago and though he did a beautiful job creating our roof which has a pitch of 12x12, he forgot to add the one thing that would stop the water from drowning my flowerbeds to the point of no return, damaging our walkway made of cement and eroding the soil around our foundation. Of course, gutters are not necessary for every house, but most houses need some kind of rain guttering system. If you notice the erosion of soil around your foundation, cement breaking up or dirt splattered on your siding, don't wait like we have, your house is telling you it needs gutters to stay healthy. Gutters are not necessary for every house, but most houses need some kind of rain guttering system. Buying gutters is an important aspect in taking care of your home and should be considered. They are most often installed by professionals, but there's no reason you can't make it a do-it-yourself (DIY) job. This Old House has some great DIY videos on how to install rain gutters. (I think I might accidently leave a couple of these playing on our home computer for my husband). There are also countless professionals that install gutters on a daily basis and can tell you what kind is right for your home. If you are still questioning why your home needs gutters, here's a list of what these rain catching devices will do:
Source: www.foremost.com
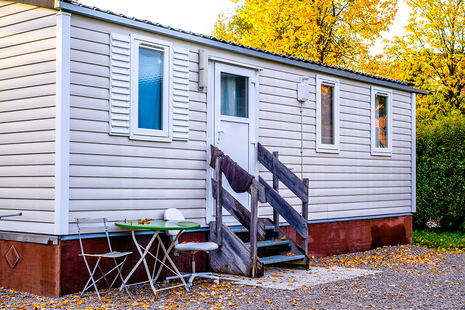 Your mobile home is prone to coming out of level, simply because of how it’s built. Here are a few things that may indicate your home is not properly leveled:
If your warranty has expired, it might be best to hire a professional. Other things that can cause your mobile home to shake:
When it comes to the weather and other things going on outside, all homes may experience shaking from time to time. The only difference is, you can perceive that shaking a lot more in your mobile home because of how it’s built. While you may not be able to permanently eliminate the shaking, these things might help minimize it:
Form number: 9025745 Sources: https://architecttwocents.com/why-mobile-home-shake/ https://freedomresidence.com/why-your-mobile-home-is-shaking-and-what-to-do-about-it/ Source: Foremost Insurance www.foremost.com Whether you own a site-built home, mobile home, RV or small business, it's always a good idea to create a Personal Property Inventory. Photos, etc. of big-ticket items can be very helpful in the event of a claim!  There's nothing quite like a warm, crackling fire in the fireplace to up the cozy factor during the holiday season, and all winter long. If you're asking yourself “Are fireplaces safe?” you've come to the right place. There are things you can do to minimize the dangers, and we're going to walk you through them to educate you about fire safety. Click here to read more about fireplace safety: Fireplace Safety Tips | Foremost Insurance Group  Insulation plays a leading role in keeping a house cool during hot seasons and warm during cold seasons. This protection from radiant heat and cold drafts helps you to save energy and money in the long run. If you are interested in insulating your house, here are some useful tips from The Family Handyman that will help make your DIY project a success. You can check out a full article on mastering the art of installing home insulation below from Foremost ( Farmers) Insurance. Tips on installing home installation | Foremost Insurance Group 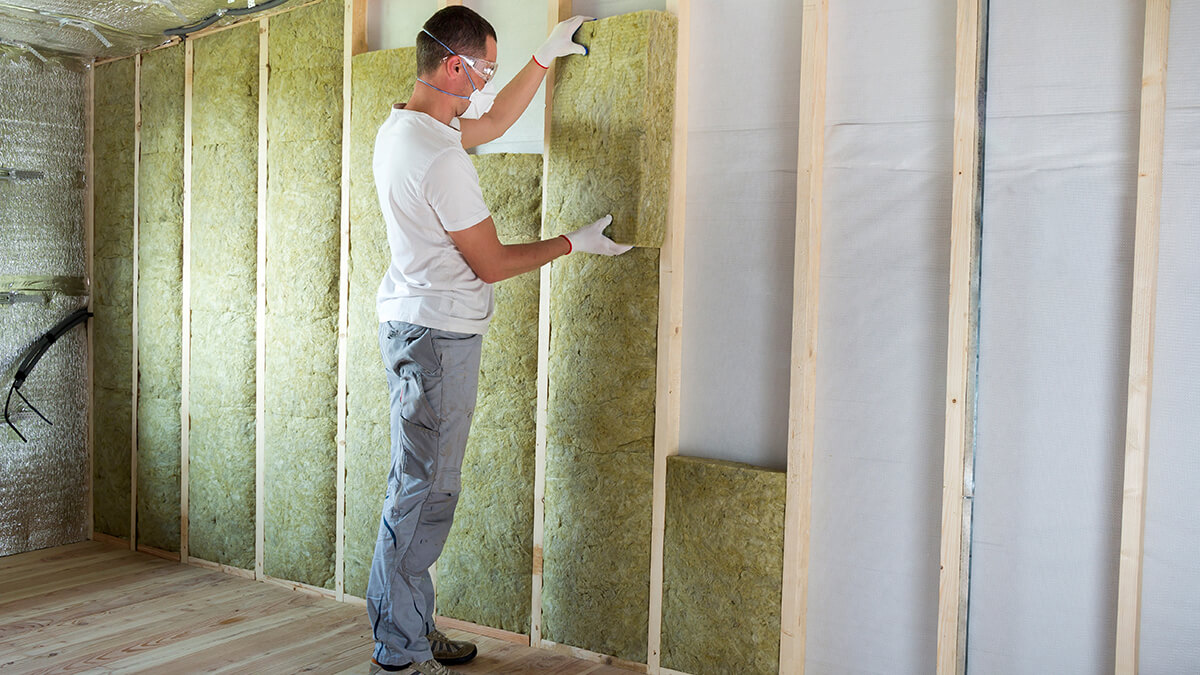 Moles don't come above ground often. But when they do, they make their presence known. Unfortunately, the renovations they make aren't always the most desirable. Click on this link to read more about how to rid your yard of these pesky varmints: A Guide on Getting Rid of Moles | Foremost Insurance Group  |
Contact Us(936) 327-4364 Archives
March 2024
Categories
All
|
Navigation |
Connect With Us
Share This Page |
Contact UsFirst Community Financial Group, Inc.
115 W. Polk St. Livingston, TX 77351 (936) 327-4364 Click Here to Email Us |
Location
|
 RSS Feed